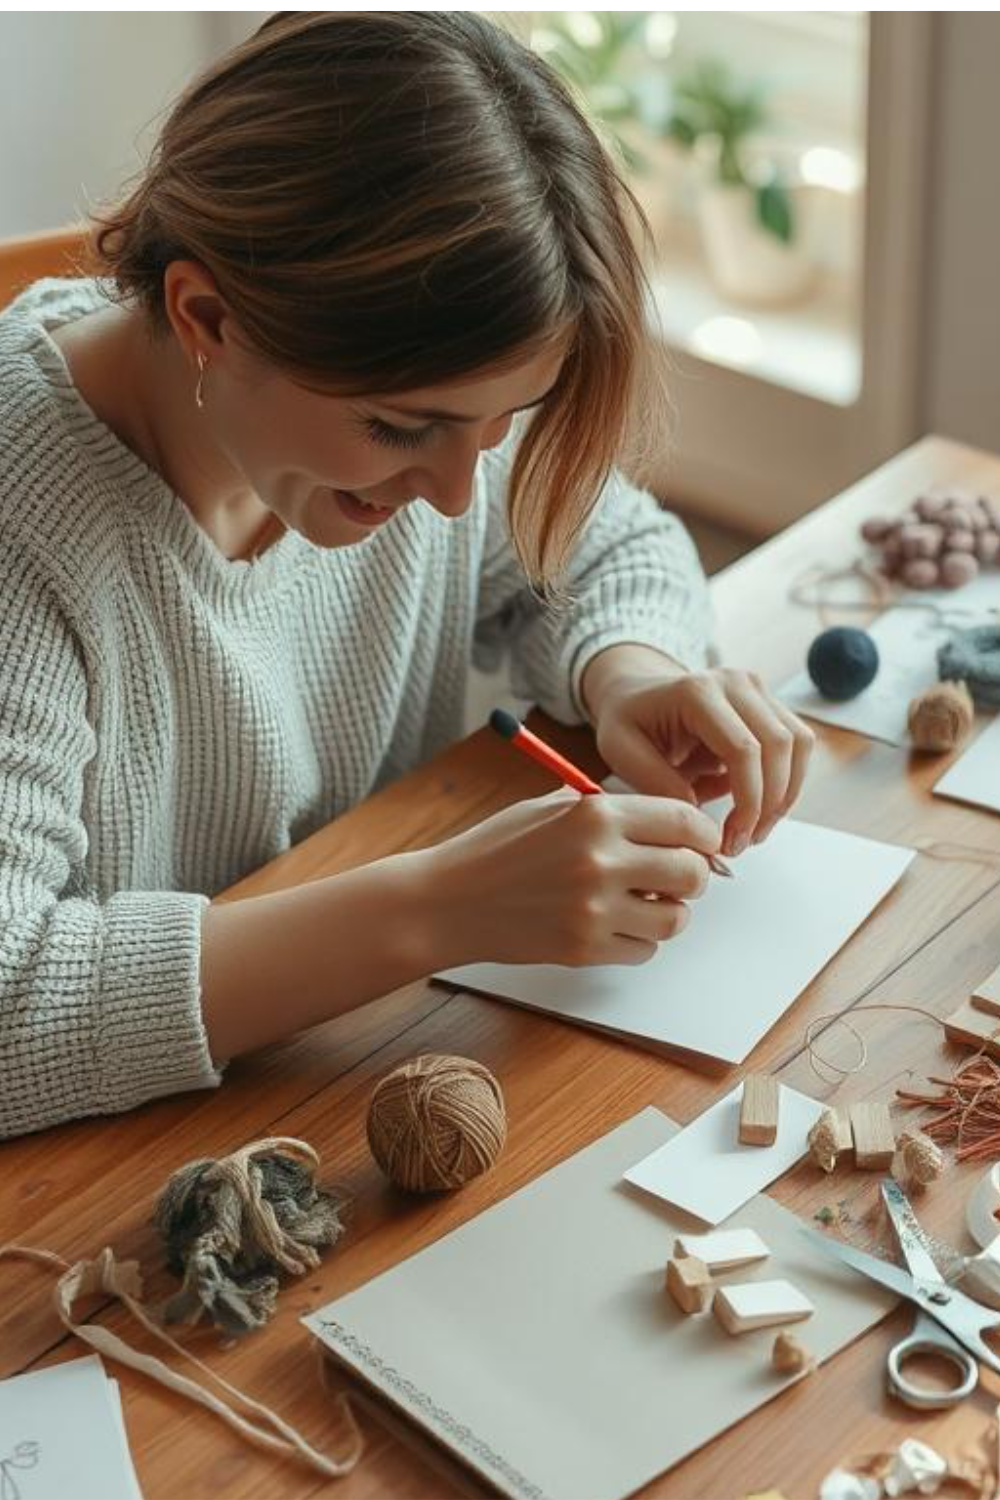
There’s something deeply satisfying about creating with your hands. Analog crafts offer a perfect escape from screens while engaging your creativity and providing a sense of accomplishment. Whether you’re looking to develop a new hobby, entertain children, or simply unwind after a long day, these hands-on projects will help you disconnect from technology and reconnect with your creative side.
This collection of analog craft ideas ranges from simple projects perfect for beginners to more complex creations for experienced crafters. We’ve organized them by category and included materials lists, difficulty ratings, and time estimates to help you find the perfect project for your needs. Let’s dive into the wonderful world of analog crafting!
Paper Crafts: Simple Yet Satisfying
Paper crafts are an excellent entry point into the analog crafting world. They require minimal materials, most of which you likely already have at home, and offer endless creative possibilities.

A colorful paper plate clock – perfect for teaching time while crafting
1. Paper Plate Analog Clock
Create a functional clock that helps children learn to tell time while exercising their creativity. This project combines art with practical learning.
Materials Needed:
- Paper plate
- Clock mechanism (can be salvaged from old clocks or purchased)
- Markers, paints, or colored pencils
- Scissors
- Craft foam or cardstock for clock hands
- Brad fastener or paper fastener
Analog Hack: No clock mechanism? Create a learning clock with movable hands attached with a brad fastener. Children can practice setting different times!
Step-by-Step Instructions:
- Decorate your paper plate with numbers 1-12 positioned like a clock face
- If using a clock mechanism, drill or punch a small hole in the center of the plate
- Cut out hour and minute hands from craft foam or cardstock
- Attach hands to the plate using a brad fastener or clock mechanism
- Hang your new clock and enjoy!
Beginner Friendly
30-45 Minutes
2. Origami Animals
Origami is the Japanese art of paper folding. With just a square piece of paper, you can create amazing three-dimensional animals, flowers, and geometric shapes.

Materials Needed:
- Origami paper or any square paper
- Ruler (for measuring and creasing)
- Optional: googly eyes or markers for decorating
Beginner-Friendly Animals:
- Jumping frog
- Simple crane
- Dog face
- Cat
- Fish
Beginner to Advanced
10-30 Minutes per creation
Textile Crafts: Cozy Creations
Working with fabric, yarn, and thread connects us to ancient traditions while producing beautiful, functional items. These textile crafts range from simple no-sew projects to more involved creations.

3. Finger Knitting
No needles required! Finger knitting is an excellent introduction to fiber arts for both children and adults. The technique is simple to learn but can create beautiful scarves, bracelets, and more.
Materials Needed:
- Chunky yarn (thicker yarn works best for beginners)
- Scissors
- Your hands!
Analog Hack: Create a screen-free zone with a basket of yarn and simple instructions. Perfect for waiting rooms, car rides, or quiet evenings at home.
Project Ideas:
- Infinity scarf
- Friendship bracelets
- Headbands
- Simple garlands
Beginner Friendly
30+ Minutes
4. No-Sew Fabric Crafts
Don’t have a sewing machine? No problem! These no-sew fabric projects let you create beautiful textile items without threading a needle.

Project Ideas:
- Fleece tie blanket
- T-shirt tote bag
- No-sew pillow covers
- Fabric flowers
Beginner Friendly
1-3 Hours
Nature-Inspired Crafts: Bringing the Outdoors In
Nature provides an endless supply of materials and inspiration for crafting. These projects encourage outdoor exploration while creating beautiful natural art.

5. Pressed Flower Art
Preserve the beauty of flowers and plants by pressing them and incorporating them into artwork, bookmarks, cards, and more.
Materials Needed:
- Fresh flowers and leaves
- Heavy books or a flower press
- Parchment or wax paper
- Cardstock or other mounting materials
- Glue (preferably acid-free)
- Optional: laminating sheets for bookmarks
Analog Hack: Make it a family activity by going on a nature walk to collect flowers and plants, then pressing and creating together.
Project Ideas:
- Framed pressed flower art
- Botanical bookmarks
- Handmade greeting cards
- Journal decorations
All Skill Levels
Multi-day Project
Paper Mache Projects: Sculptural Possibilities
Paper mache (papier-mâché) is a versatile medium that allows you to create three-dimensional objects using simple materials. The possibilities are endless!

6. Paper Mache Bowls
Create beautiful, functional bowls using paper mache techniques. These can be customized with colors, patterns, and finishes to match any decor.
Materials Needed:
- Newspaper or paper strips
- Flour and water paste (or commercial paper mache paste)
- Bowl or balloon for mold
- Paint and brushes
- Varnish or mod podge for sealing
Basic Instructions:
- Create paste by mixing 1 part flour with 2 parts water
- Tear newspaper into strips
- Cover your mold with plastic wrap
- Dip paper strips in paste and layer over mold
- Allow to dry completely (24-48 hours)
- Remove from mold, trim edges, and decorate
Intermediate
2-3 Days (including drying time)
Drawing & Painting: Express Yourself
Drawing and painting are fundamental creative outlets that require minimal materials but offer unlimited expression. These projects focus on accessible techniques for all skill levels.

7. Watercolor Resist Art
This magical technique combines wax crayons with watercolor paints to create stunning effects that seem to reveal hidden designs.
Materials Needed:
- Watercolor paper
- White crayon or candle
- Watercolor paints
- Paintbrushes
- Water container
Analog Hack: Create “secret message” cards for friends and family. The recipient will only see the message when they paint over it!
Basic Instructions:
- Draw a design or write a message with white crayon on watercolor paper
- Paint over the entire paper with watercolors
- Watch as your design “magically” appears!
- Let dry completely before displaying
All Skill Levels
30-60 Minutes
Upcycled Crafts: Creative Reuse
Transform everyday items destined for the trash into beautiful, functional art. These projects are budget-friendly and environmentally conscious.

8. Tin Can Lanterns
Transform empty food cans into beautiful lanterns that cast magical patterns of light. This project combines recycling with creative design.
Materials Needed:
- Clean, empty tin cans (labels removed)
- Hammer and nail (various sizes)
- Marker
- Optional: spray paint
- Wire for hanging
- Tea lights or LED candles
Safety Note: This project involves sharp tools and edges. Adult supervision required for children. Wear work gloves to protect hands.
Basic Instructions:
- Fill can with water and freeze (prevents denting)
- Draw your design on the can with marker
- Place can on a towel and carefully punch holes following your design
- Once complete, let ice melt and dry thoroughly
- Optional: paint the exterior
- Add wire handle if desired
- Place candle inside and enjoy!
Intermediate
1-2 Hours
Journaling & Hand Lettering: Words as Art
Combine writing with visual art through journaling and hand lettering. These practices can be both creative outlets and mindfulness exercises.

9. Bullet Journaling
Bullet journaling combines planning, journaling, and artistic expression in a customizable system. It’s perfect for organizing your life while exercising creativity.
Materials Needed:
- Notebook (dotted pages recommended)
- Pens (black fineliner and colored options)
- Ruler
- Optional: washi tape, stickers, markers
Analog Hack: Set aside 15 minutes each morning or evening for your journal. This screen-free ritual can become a mindful transition in your day.
Beginner Spreads:
- Monthly calendar
- Weekly planner
- Habit tracker
- Reading log
- Gratitude list
All Skill Levels
Ongoing Project
10. Word Weaving Journal Pages
Cut out words and phrases from magazines, newspapers, or even old book pages, then arrange and glue them into artistic layouts in your journal.
Materials Needed:
- A blank journal or sketchbook
- Old magazines, newspapers, or book pages
- Scissors
- Glue stick or double-sided tape
- Pens, markers, or brush pens for hand lettering
- Optional: watercolors, washi tape, or stickers for embellishment
Basic Instructions
- Flip through magazines or newspapers and cut out words, phrases, or letters that resonate with you.
- Choose a theme or mood for your page (inspiration, calm, bold, etc.).
- Arrange the cut-out words on your journal page before gluing them down, experimenting with different layouts (grid, spiral, scattered).
- Glue the pieces into place once you’re happy with the design.
- Add hand-lettered accents, doodles, or colorful backgrounds to tie the collage together.
- (Optional) Layer with washi tape, stickers, or light watercolor washes for extra texture.
All Skill Levels
Ongoing Project
Building Your Analog Craft Habit
Incorporating regular crafting into your routine can provide stress relief, creative fulfillment, and a welcome break from screens. Here are some strategies to help you build a consistent analog craft practice.

Create a Dedicated Space
Designate a specific area for crafting, even if it’s just a corner of a room or a portable box of supplies. Having materials readily accessible makes it easier to craft regularly.
Start Small
Begin with quick projects that can be completed in 30 minutes or less. Success with small projects builds confidence for larger undertakings.
Schedule Craft Time
Block out specific times for crafting in your calendar. Treat this time as an important appointment with yourself.
Weekly Analog Challenge
Challenge yourself to complete one analog project each week. Use this simple tracking table to monitor your progress and celebrate your achievements.
| Week | Project | Time Spent | Completion | Notes |
| Week 1 | ||||
| Week 2 | ||||
| Week 3 | ||||
| Week 4 |
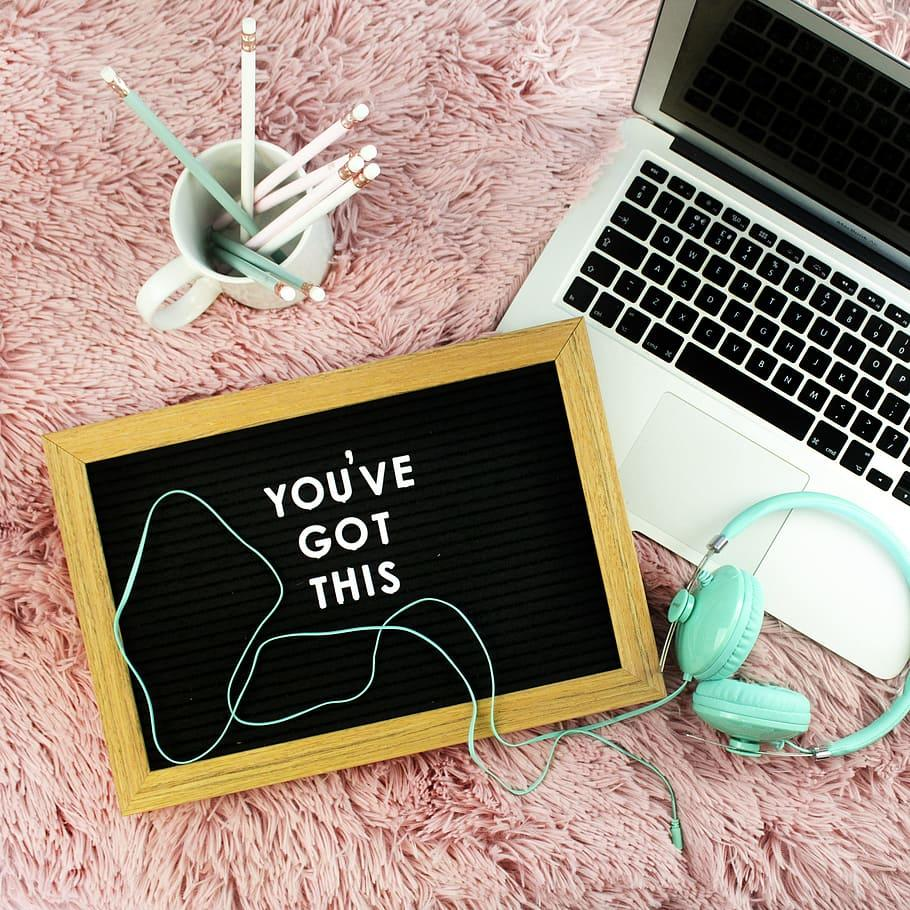
Embrace the Joy of Analog Creativity
The projects you’ve seen here aren’t about chasing perfection or keeping up with Pinterest-worthy feeds—they’re about stepping away from the digital grind and remembering what it feels like to create with your own two hands. Analog crafting is both a soft landing and a quiet rebellion. It slows you down, pulls you into the present, and reminds you that real joy comes from the process, not the outcome.
So let yourself play. Rip, glue, scribble, stitch—whatever feels good. The point isn’t to make something flawless. The point is that you made it.
Leave a Reply